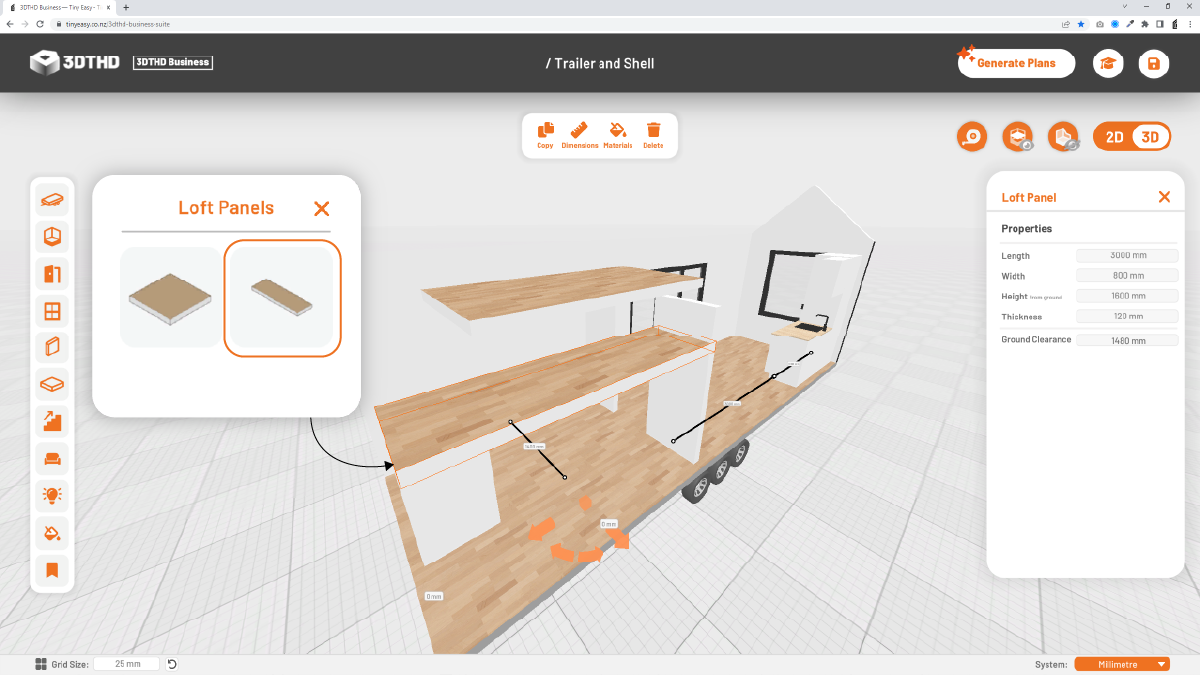
Lofts
Lofts in the 3DTHD work like the Wall Panels. You can assemble several loft panels to create the desired loft shape.
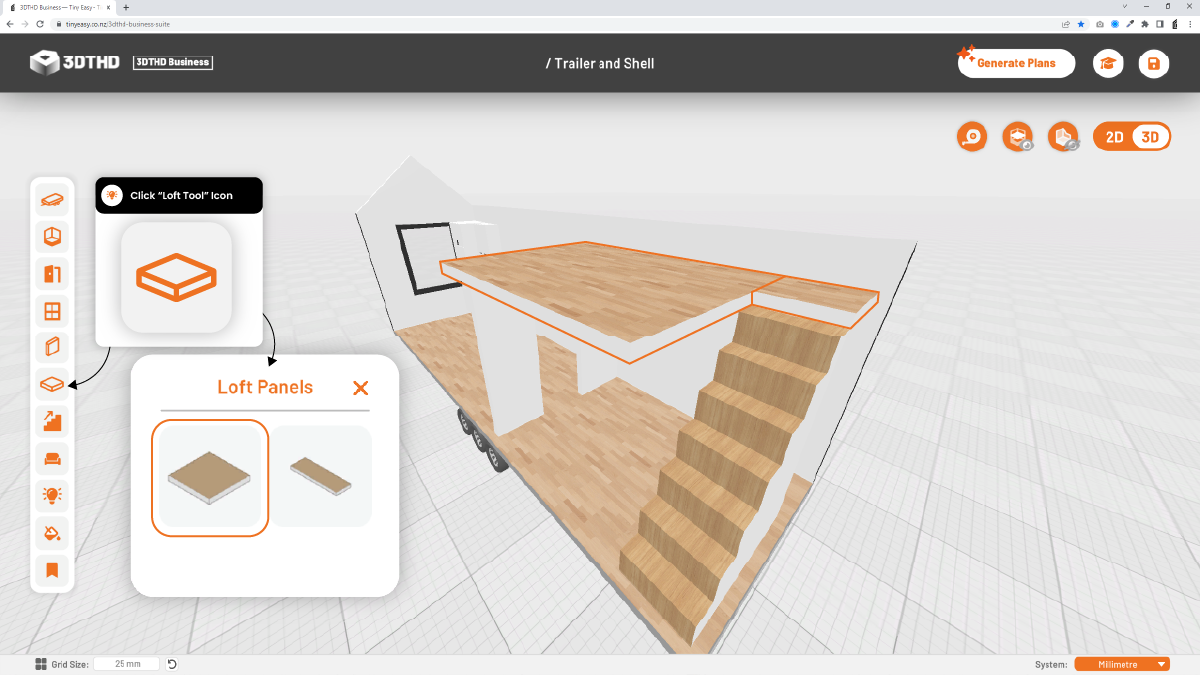
There is also a Walkway/Drop Loft panel preset. Walkways/Drops work the same as loft panels and are preset to a lower, standard walkway height.
Moving Loft Panels
To move Loft Panels easily, your cursor should be over the ground floor pf the tiny house trailer. If your cursor is not over the ground floor, the loft panel may not move as you intended. Try to use the Gizmo Arrows or the Dimension Move Tool to easily move your loft panel.
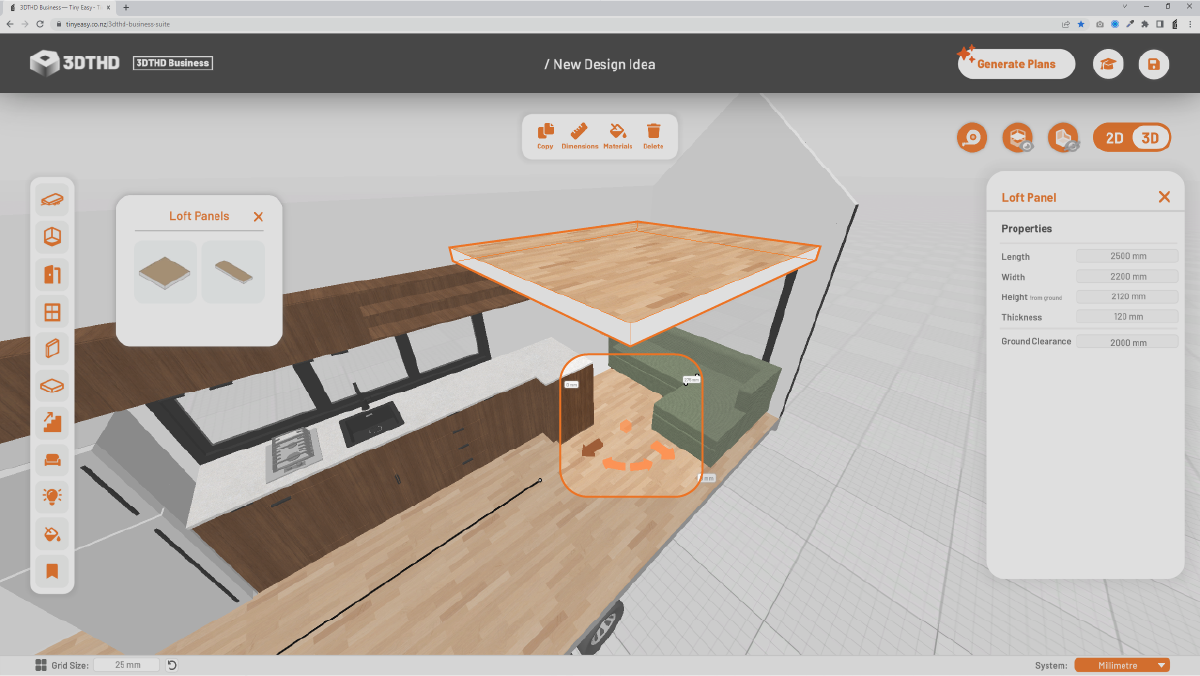
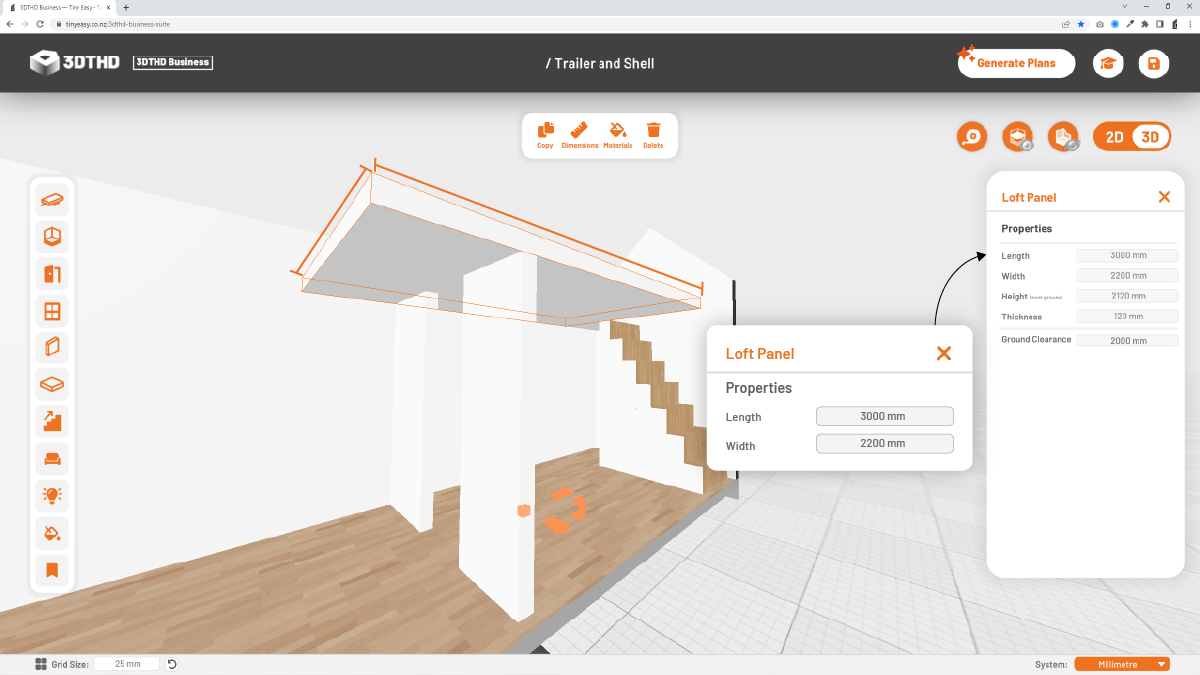
Width & Length
Allows you to change the width and length of your loft panel.
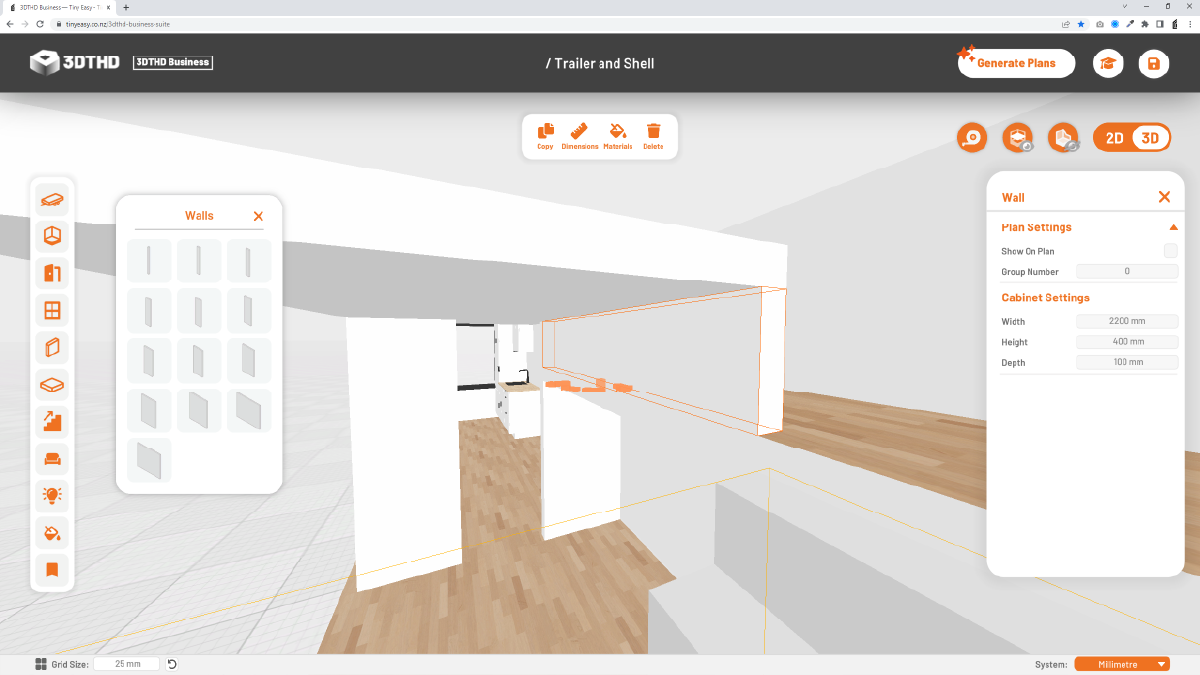
If you have a tiny house that you set to 2400mm width in the Trailer Tool and have a wall thickness of 100mm that you set in the Shell Tool, a loft that stretches the entire width should be:
2400mm - 100mm x 2 = 2200mm.
Once you have resized your loft panel, make sure that it's within the tiny house shell and is not overlapping with exterior walls.
To move the loft back into the interior, either use the dimension move tool or use the Gizmo and move it until it snaps back into the boundary. (There should a gap between the wall and the trailer edge).
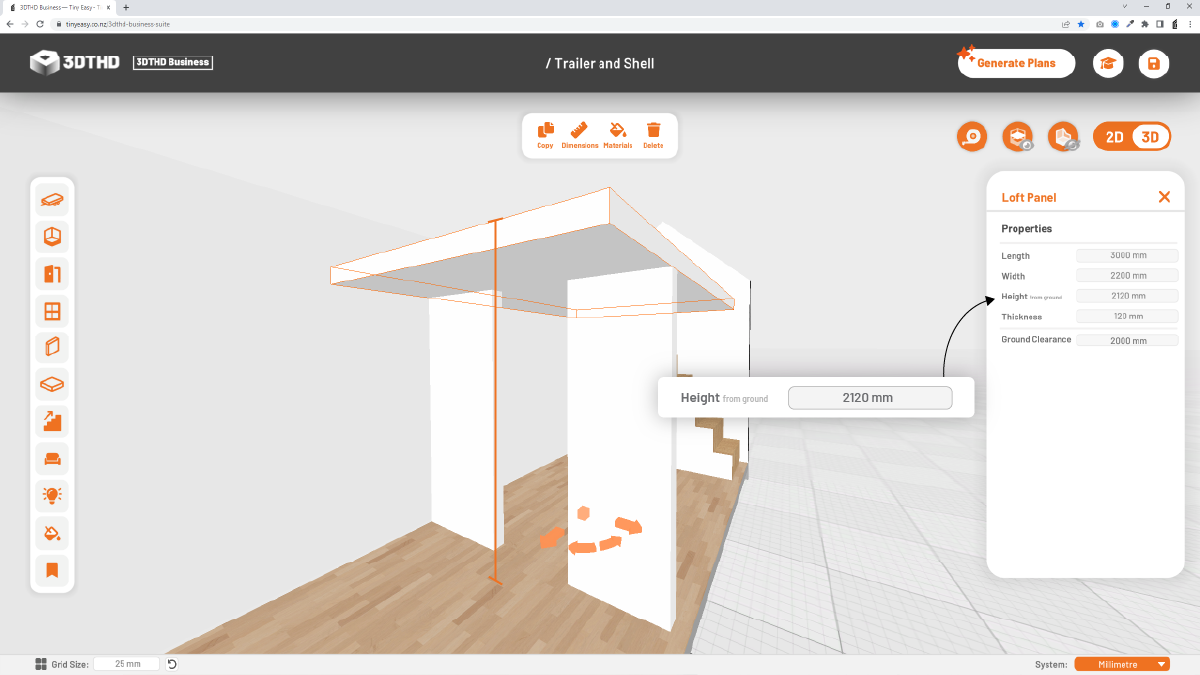
Height From Ground
Defines the distance from the top of the loft panel to the ground level.
Loft Thickness
Allows you to adjust the thickness of the loft panel.
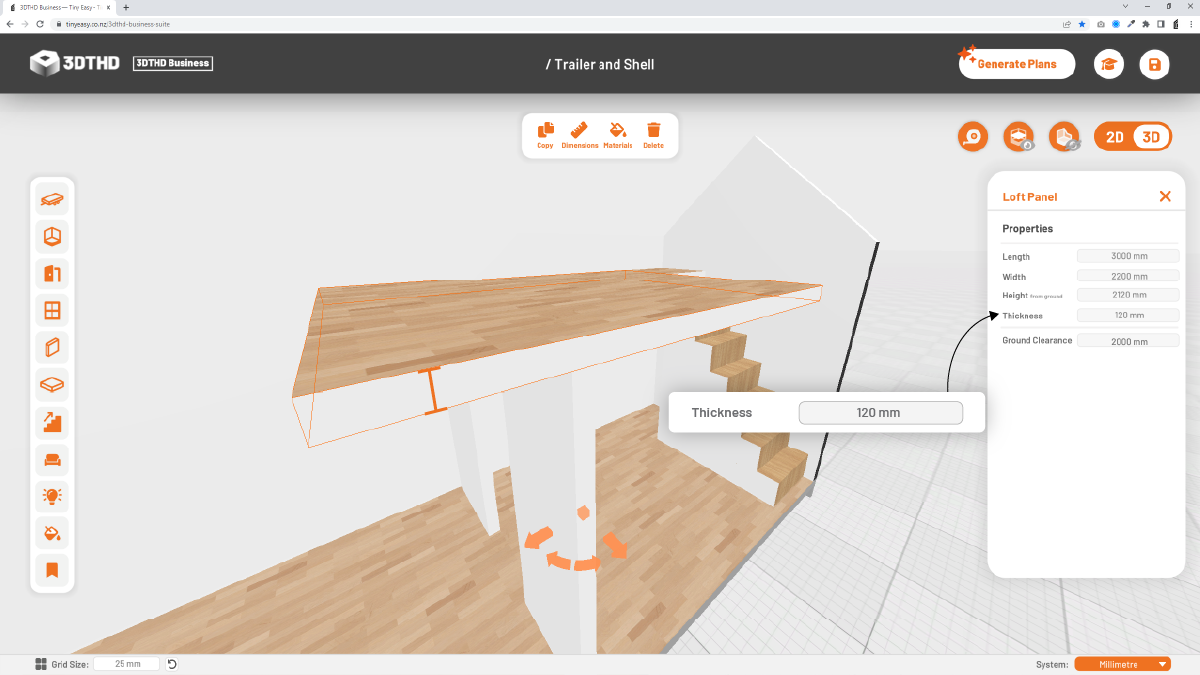
This is good to use if you've opted for a specific framing; timber or steel, and using specific ply/Gib or plasterboard sheets.
When inputting your dimensions, account for the thickness of your framing, and top and bottom panels.
For example, if you have:
- 90mm Frame
- 10mm Ceiling Lining
- 18mm Plywood Panel as your base flooring
This would make your overall thickness of your loft 118mm.
Ground Clearance
The Ground Clearance panel shows you how much space is left below the loft panel to avoid designing a too-low loft panel!
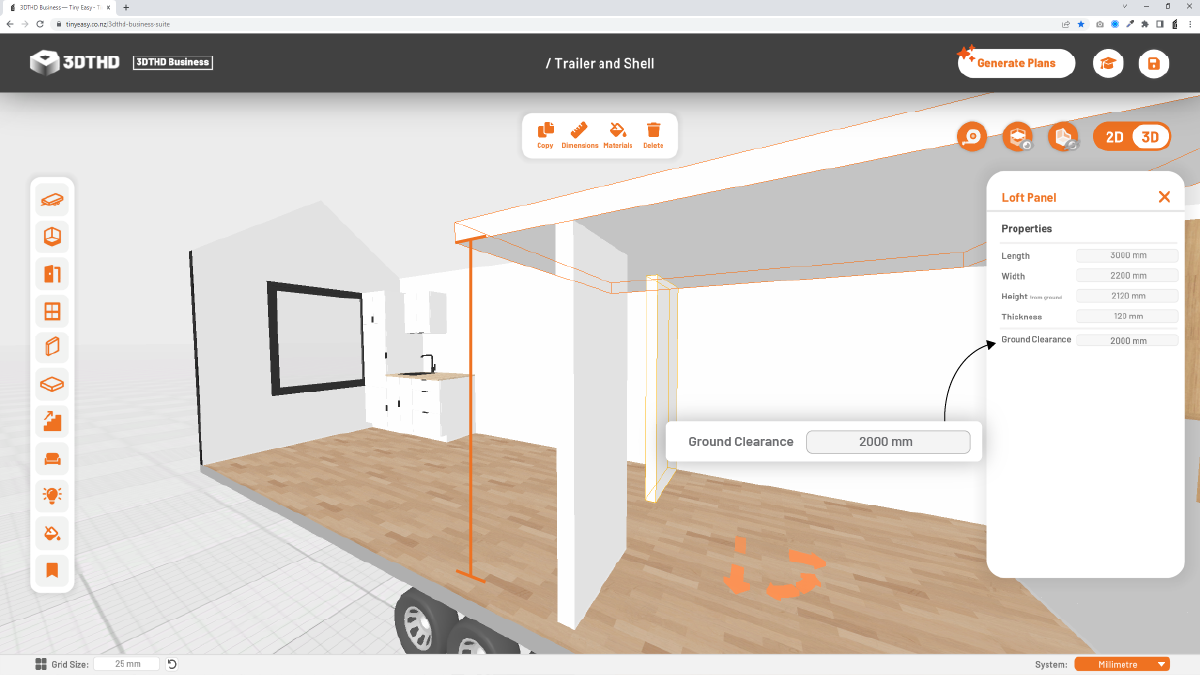
The ground clearance field only displays the calculated ground clearance, but you can't enter the ground clearance yourself.
To change the ground clearance, change the "height from ground" option instead.
Walkways/Drop Lofts
You can create Walkways to allow additional head clearance for the Mezzanine in your design.
To create a Walkway:
- Add a walkway preseet or change a Loft's Panel's Height From Ground to be lower than a regular loft.
- Place a Loft Panel at full height next to it.
To allow for a "filler" Wall Panel to be inserted between the gap, allow for an overhang of the top or bottom Loft Panel of the same size as the Wall Panel.
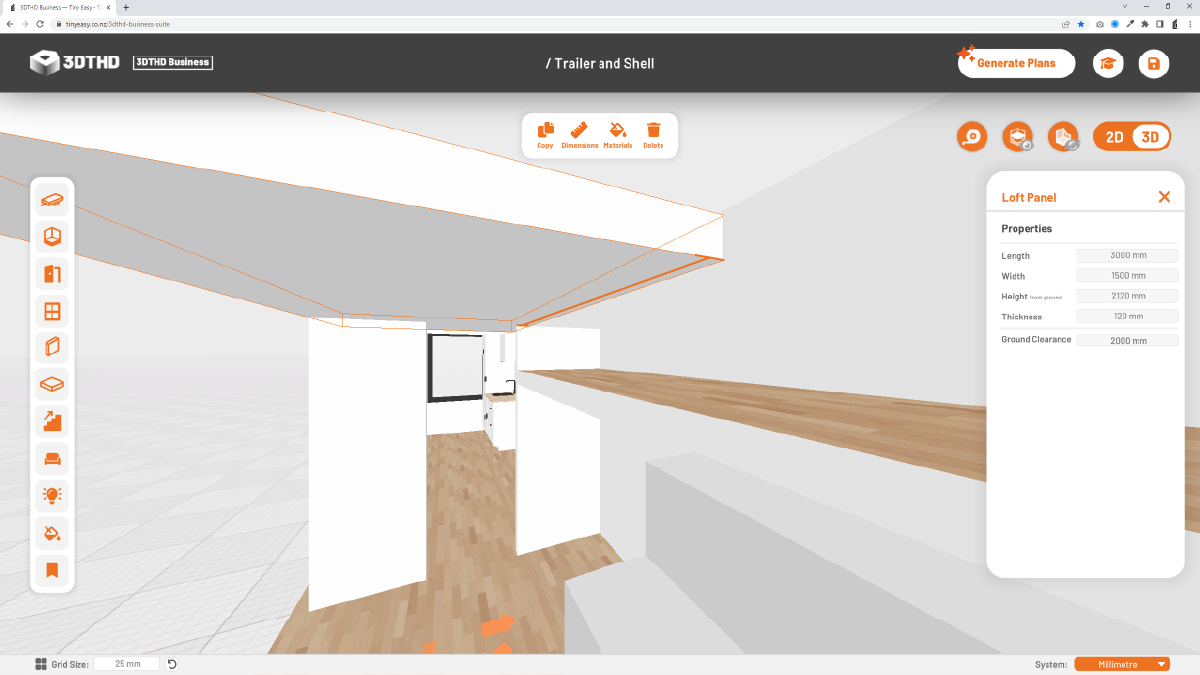
- Place an Interior Wall panel on top of the Walkway Panel and adjust the size to fit the gap of the Walkway Panel and the Loft Panel.
Use the Toggle Lofts Button to hide lofts and object placed on the lofts.